Brat Font in CapCut: Easy Tutorial (iPhone & Android)
Want that blurry lime-green brat look on your videos? CapCut makes it easy, and you don’t need the desktop version or paid features.
This tutorial walks you through the whole thing on iPhone and Android, from getting the font onto your phone to exporting a clean clip. By the end, you’ll be adding brat-style text to any video in minutes. Practice the steps in this free online tool

What You Need
Before you start, grab three things. First, the CapCut app (it’s free) from the App Store or Google Play — update it so you have the latest text tools. Second, the brat font files.
The album art uses Arial Narrow, and you can grab it through a brat font download, or save a transparent PNG of your text if installing fonts feels like a hassle. Third, the video you want to edit, saved to your camera roll.
On iPhone, custom fonts install through the Files app. On Android, you can usually install a TTF straight from your downloads. If that sounds fiddly, the PNG route works on both — no font installation needed.
Step 1: Import the Font or PNG
Option A is installing the font. Download the Arial Narrow TTF file, the closest match to the brat font. On iPhone, open it in the Files app, tap it, and install — you’ll find it under Settings, then General, then Fonts.
Restart CapCut and it picks the font up automatically. On Android, open the TTF from your file manager and tap Install; it lands in your system fonts, ready to use.
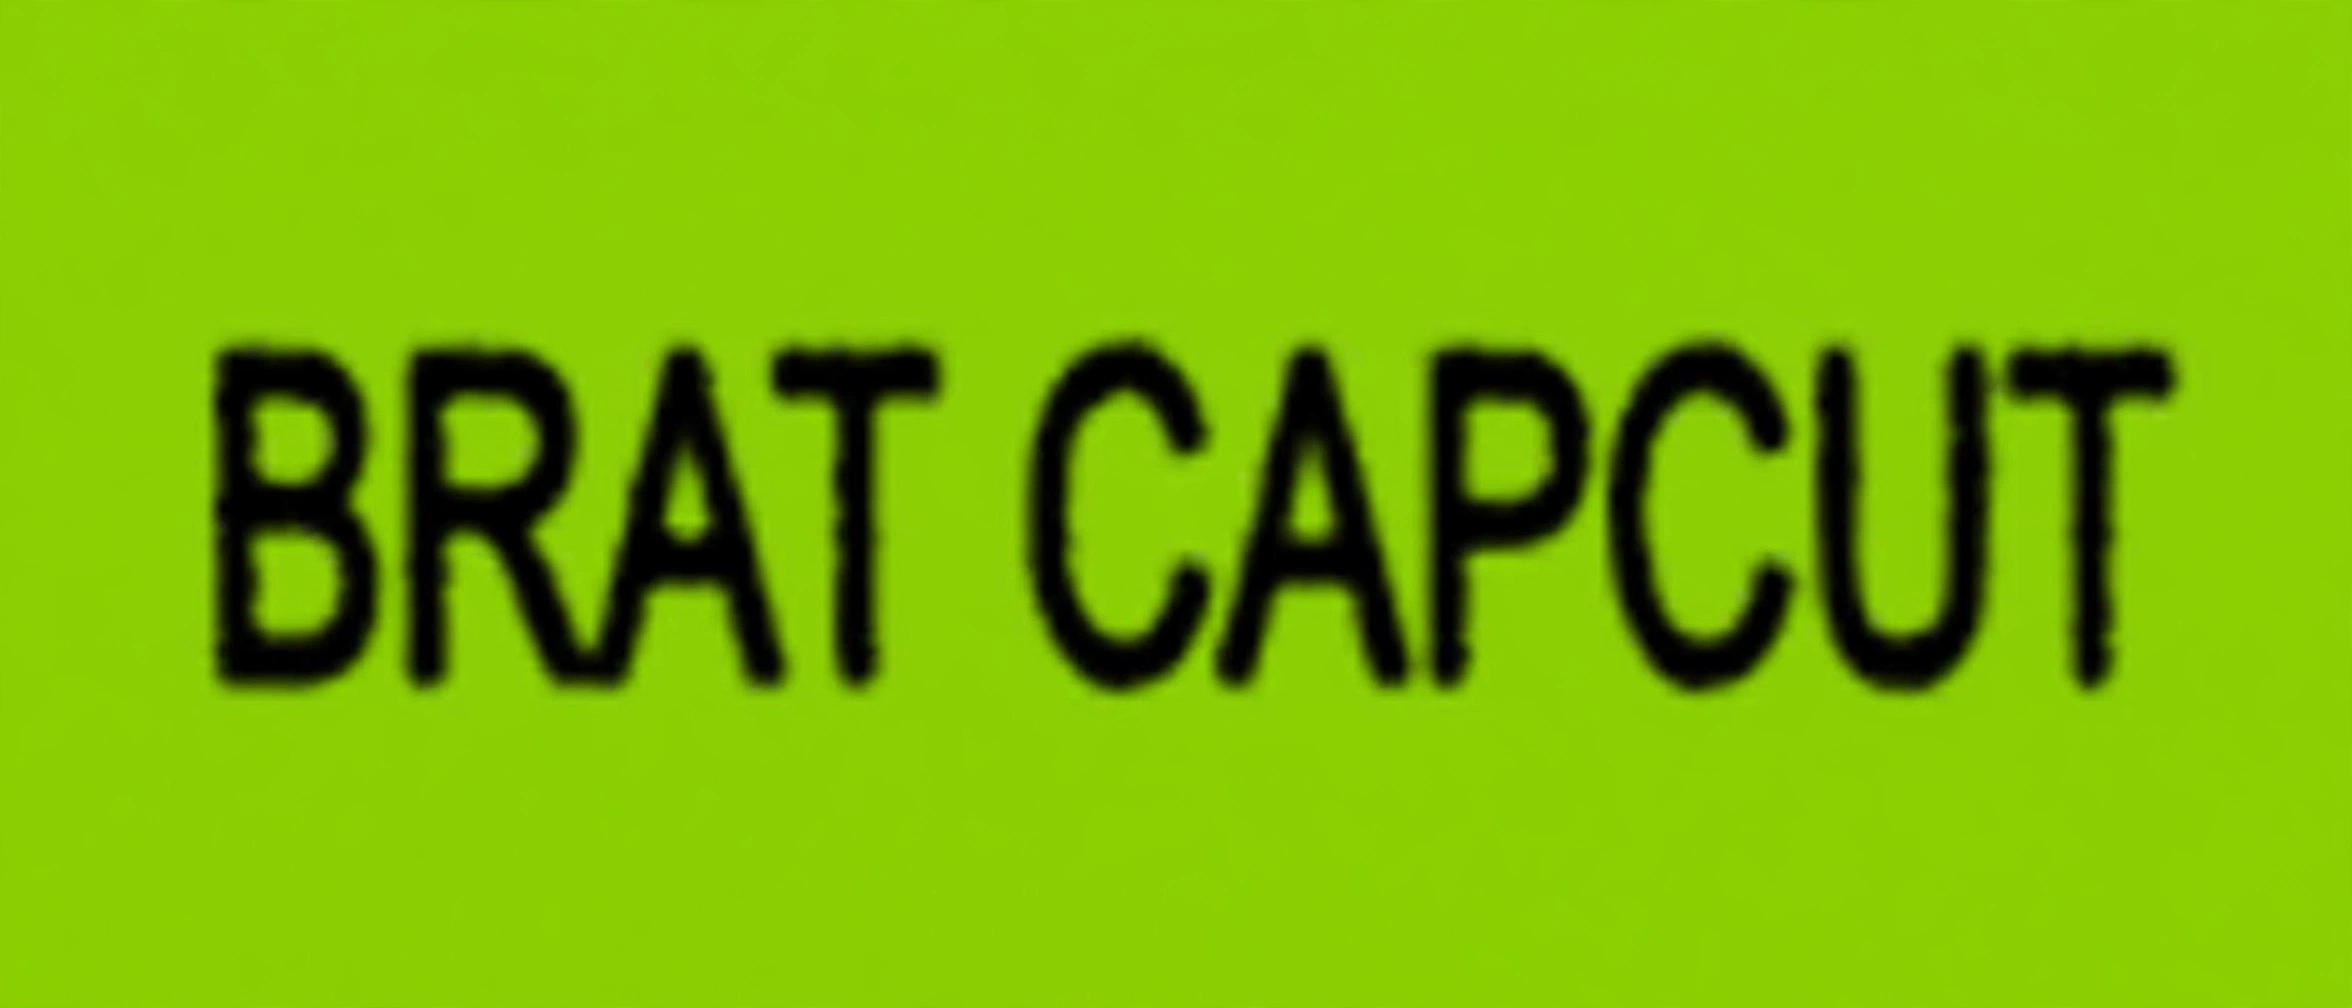
Option B is using a PNG. If font installation isn’t working, save your text as a transparent PNG from a brat video text generator. This gives you the exact brat look — lime-green background, blurry dark text — without installing anything. Save the PNG to your camera roll, then import it into CapCut as an overlay. Pick whichever route feels easier. Both give you the same result on screen.

Step 2: Add Text to Your Video
Open CapCut and start a new project with your video clip. If you installed the font, tap Text, then Add text, type your words, and find the font in the font list. On mobile, CapCut shows system fonts under a System tab — scroll until you find Arial Narrow.
Using the PNG instead? Tap Overlay, then Add overlay, and pick your saved image. Resize and drag it into place — stretch it across the full frame for the album-cover effect, or keep it small like a caption. Keep the text short: one or two words look best. The brat aesthetic is bold, minimal lowercase text, so don’t overthink the wording.
Step 3: Style It (Color, Size, Blur)
This is where the magic happens. The brat look has three ingredients: the lime-green background, the dark text, and the blur. For the background, use the color picker in the text tool and dial in a bright, vivid lime green. For the text itself, pick a near-black dark tone — the original artwork uses a very dark green-black color, not pure black.
The blur is the signature detail, and it’s the step most people skip. CapCut’s text tool doesn’t have a dedicated blur slider, so here’s the trick most editors use: create your text on a green background, export that frame as an image, and apply a light blur to it in your phone’s photo editor. Then import the blurred image back into CapCut as an overlay. It sounds like extra work, but it takes about thirty seconds and it’s what gives you that authentic, slightly out-of-focus brat feel.
One more styling note: keep everything lowercase and stretch the text wide. Bump up the letter spacing a little — Arial Narrow is already condensed, so a slight horizontal stretch gets you closer to the album cover’s proportions.
Step 4: Export
Tap the export arrow in the top-right corner of CapCut. Choose 1080p resolution and 30 frames per second — 60fps works too if your original clip needs it. CapCut’s free export doesn’t watermark your own projects, but make sure the default CapCut ending template is turned off: just delete the outro clip sitting at the end of your timeline before you export. Hit Export, save the video to your camera roll, and you’re done. Your brat-style video is ready to post.
Common Issues
Font not showing up? Restart CapCut after installing the font. On iPhone, check that it appears under Settings, General, Fonts — if it’s not there, the install didn’t finish.
Text looks too sharp? That’s the missing blur. Re-export the text image with a slight blur applied first, or use a pre-made PNG from a brat video text generator, which already includes it.
Background color looks off? The official green is a vivid, almost neon lime. If yours looks dull, push the saturation up in the color picker until it pops.
White box around your PNG? You probably saved a JPG instead of a transparent PNG. Download the transparent version so only the text and background show.
CapCut crashing on import? The file might be too large. Try a shorter clip, or clear the app’s cache in your phone settings and try again.
That’s it — four steps and you’re done. Once you’ve done it once, adding brat-style text takes less than a minute per video. Play around with words, timings, and placement, and if you need caption ideas, try the brat lyrics generator.
How do I add brat font to CapCut?
Download the Arial Narrow TTF file, which is the closest match to the brat font, and install it on your phone. On iPhone, install it through the Files app — it appears under Settings, then General, then Fonts. On Android, open the TTF from your file manager and tap Install. Restart CapCut and the font shows up under Text, then Add text, in your system fonts. If that feels like too much work, use a transparent PNG overlay instead.
Does it work on iPhone?
Yes, the whole tutorial works on iPhone. iOS lets you install custom fonts through the Files app, and CapCut reads them automatically once installed. If you would rather not install fonts, the PNG overlay method works just as well on iOS with no extra setup at all.
Why is my text not blurry?
The blur does not happen on its own — you have to add it. Export your green-and-text design as an image, apply a light blur in your phone’s photo editor, and import it back into CapCut as an overlay. Pre-made PNGs from a generator already include the blur, so they work instantly.
Can I animate it?
Yes. Select the text or overlay layer in CapCut and open the Animation tab to add entrance, exit, or loop animations. You can also use keyframes to animate the position and scale over time for fully custom movement.